Creating Custom Triggers in Unreal 4 Blueprints: Part 1
Scripting levels is fun, but having control over your triggers can be a pain. In this tutorial I’ll show you how to create your own custom triggers with Blueprints!
It makes levels easier to script when you can customize the shape of your triggers, so that’s what I’ll be covering in Part 1 of this tutorial!
To start off you will need to create an Actor blueprint.


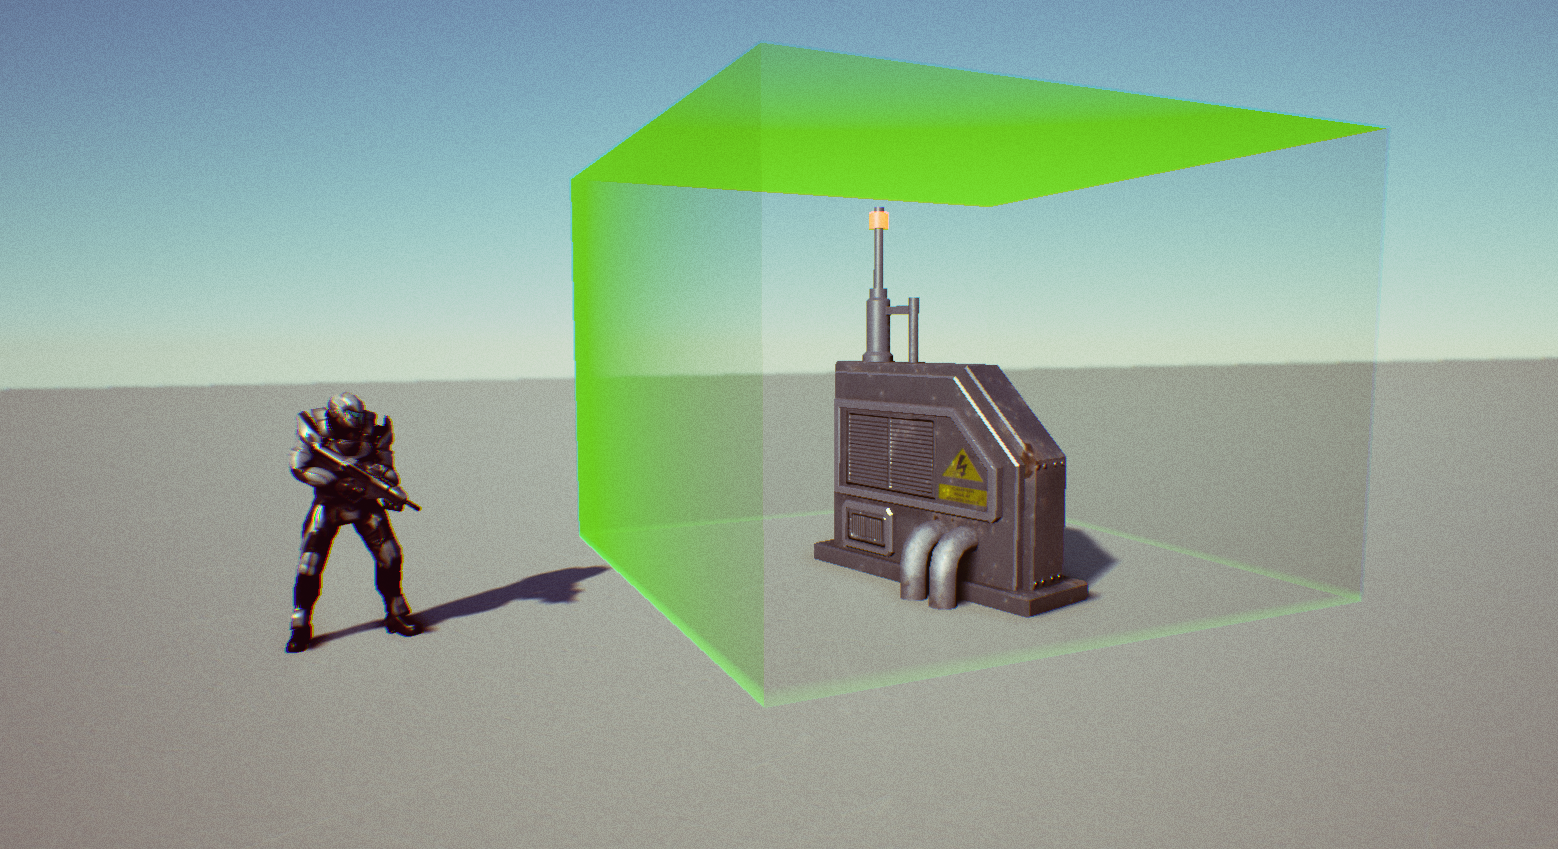
There are only a few components that you need to add to get the trigger setup. First, add a simple static mesh component… a cube will work for this. Make sure it’s set as the root.

If you want, you can also create a billboard to easily see and select the trigger in your levels. I just created a simple alpha texture in Photoshop to use as the billboard texture.


Check Hidden in Game under the Rendering tabs in both the cube mesh and the billboard to hide them while playing your levels.
Next, we will be using the Construction Script to add some cool functionality to the trigger while in edit mode.
Go to the content browser, right click and select Enumeration under the Blueprints tab.


Go ahead and name the new enum “Trigger Mesh Type.” This will control which mesh is currently being used for collision by the trigger.
Open up the new enum and add these three values.
Box
Sphere
Cylinder


Now we need to add that enum to our blueprint. Create a new variable in the trigger blueprint and set the variable type to TriggerMeshType in the Details panel. Name it “Mesh Shape,” and click the eye icon to make the variable public to the level editor. For all the future variables you create, it’s a good idea to put them into categories for easy access an organization. I created a new category called “TriggerSettings.”

Here is where we start getting to the good stuff! In the Construction Script, drag out a reference to the new Mesh Shape enum variable and connect it to a Switch. Use the Switch that contains the values we added earlier. Then drag out a reference to the Cube mesh component… mine is called Trigger Mesh. From here you need to add 3 copies of the Set Static Mesh node. Connect everything just as in the image below. For the New Mesh slot, find a mesh that fits with the Switch options… Box, Sphere, Cylinder.

Compile this and head back to the level viewport. Drag a copy of your Trigger Blueprint into the level and find the Mesh Shape variable in the details panel. You can now adjust the shape of your trigger to fit whatever you need!


Stay tuned for Part 2 where I’ll cover how to setup the trigger events!